Mastering the Art of Molotov Throws: Key Strategies for CS2 Success
Mastering the art of Molotov throws in CS2 can significantly enhance your gameplay, offering strategic advantages in controlling map areas and flushing out enemies. A successful Molotov throw requires understanding the trajectory, timing, and location of your targets. First, familiarize yourself with the maps and identify key choke points where you can deploy your Molotov to disrupt enemy movements. Utilizing the right throw technique ensures your Molotov lands precisely where you intend, maximizing its effectiveness. Practice makes perfect, so dedicate time to learning different throws in offline matches to improve your accuracy and confidence.
To further master the art of Molotov throws, consider implementing these key strategies:
- Positioning: Always position yourself in a safe area where you are less likely to get shot while attempting your toss.
- Timing: Pay attention to your team's movements and the timing of your throw; throwing a Molotov when your opponents are advancing can leave them vulnerable.
- Communication: Inform your teammates about your Molotov throws to avoid conflicts and ensure everyone is on the same page.
Counter-Strike is a highly popular tactical first-person shooter that emphasizes teamwork and strategy. One of the iconic weapons in the game is the ssg 08, known for its precision and effectiveness as a sniper rifle. Players often engage in intense matches, with rounds focused on objectives like bomb planting and hostage rescue.
10 Game-Changing Molotov Locations Every CS2 Player Should Know
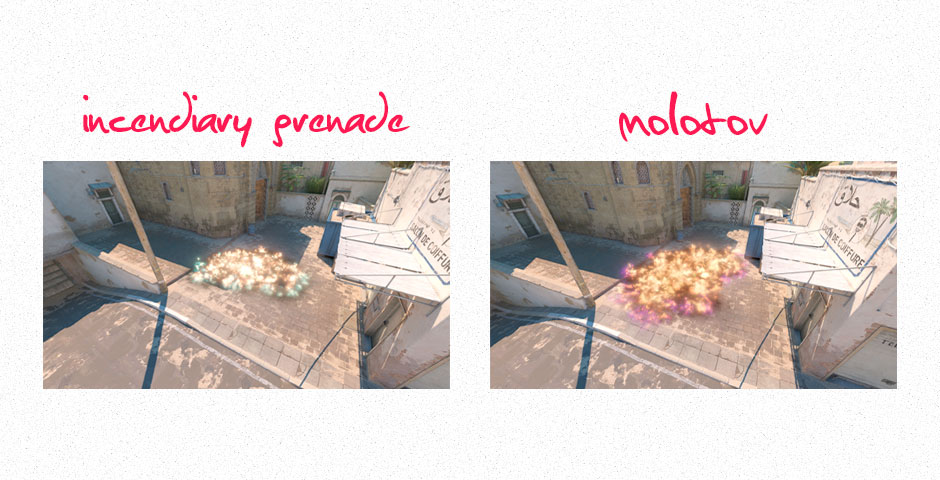
When it comes to mastering CS2, understanding the optimal locations for your Molotov cocktails can completely change the tide of a match. These incendiary grenades are not only great for flushing out enemy players but can also be used strategically to control areas of the map. Here are 10 game-changing Molotov locations every CS2 player should know:
- Dust II – B Site: Tossing a Molotov behind the double stack can force enemies out of hiding.
- Mirage – A Ramp: A well-placed Molotov here can deter attackers from pushing the site.
- Inferno – Banana: Controlling Banana is crucial; a Molotov at the halfway point can disrupt enemy movement.
- Nuke – Silo: Use a Molotov to clear out the upper site and catch enemies off guard.
- Overpass – Fountain: A Molotov here can displace enemies, making it easier to take control of mid.
- Ancient – Temple: Use a Molotov to clear out the Temple area before taking the site.
- Vertigo – A Site Stairs: Perfect for forcing enemies to reposition when you're pushing the A site.
- Train – Popdog: A Molotov can deny access to this critical area, giving you the upper hand.
- Cache – A Site: A well-aimed Molotov can help clear out common hiding spots.
- Dust II – Long A: This area is often contested, so a Molotov can create a perfect opportunity to take the fight to your opponents.
How to Use Molotovs to Control Map Flow in CS2
Using Molotovs effectively can drastically change the way teams control map flow in CS2. When executed correctly, they can block paths, flush out enemies from cover, and deny pushes. To begin, it's essential to understand the most advantageous locations on the map where enemy players frequently traverse. For instance, throwing a Molotov at choke points not only prevents opponents from advancing but also forces them into less strategic positions, making them easier targets for your teammates. Mark these key areas on your maps where you can leverage firebombs to maximize their impact.
Additionally, timing your Molotov throws in conjunction with the overall strategy of your team can enhance their effectiveness. For example, if you're coordinating a rush with teammates, consider throwing a Molotov to cut off enemy reinforcements. This can be done by using an order like:
- Identify the choking point.
- Time the throw with your team's engagement.
- Monitor and adjust using follow-up utility.